Yet Another Roguelike Tutorial, Parts 0 and 1
Publish date: Jul 4, 2023Tags: godot4 tutorial roguelike
Here i’ll start an attempt for something I’ve wanted to do for a long time. I’ve been interested in traditional roguelikes for a while now. Given that I’m also interested in game development, it should not come as a surprise that I have looked into how to make a roguelike as well. There is a very nice and reasonably comprehensive tutorial online, that exists in multiple versions. One of the more well known versions has to be the one at Roguelike Tutorials. The reason I’m calling this well known is that this is the tutorial series that is used in the annual RoguelikeDev does the Complete Roguelike Tutorial event. Over the course of several weeks the subreddit reddit.com/r/roguelikedev comes together and goes through this tutorial over the course of several weeks.
I myself have (quietly) participated in the event once, and have also gone through the tutorial several times on my own. I have followed it closely in python, but I have also successfully followed it to Godot 3.
This year I want to attempt to give you the option to follow in Godot 4. I must admit I have no idea if I can manage to keep up at the pace of two tutorials a week, but I will do my best. For now, let’s start at the beginning. You will be able to find all the code in the accompanying GitHub repository: https://github.com/SelinaDev/Godot-Roguelike-Tutorial. You can also find this year’s reddit post here: https://www.reddit.com/r/roguelikedev/comments/14kz7al/roguelikedev_does_the_complete_roguelike_tutorial/
Part 0: Setting Up
Based on: http://rogueliketutorials.com/tutorials/tcod/v2/part-0/
There’s not a lot going on in this tutorial, even less than in the original one, so I’ll integrate it into one. I am using Godot 4.0.3, but at the time of this writing Godot 4.1 is just around the corner. Either should be fine for following this. I will write all of this tutorial in GDScript.
I am using Kenney’s 1-Bit Pack for this, which is by far my favorite pack, as for it’s versatility and flexibility. You can find it here: https://kenney.nl/assets/1-bit-pack. But you can also download all project stages from my Github repository to this tutorial, and that pack is included in the folder for part 0 ( https://github.com/SelinaDev/Godot-Roguelike-Tutorial ).
For reference, all I’m using from the pack is the file monochrome_packed.png, and I’ve put it in the directory res://assets/images/kenney_1-bit-pack/. I will probably also need a font, once we get to printing text, but that will follow at a later date. For now, that is all the setup we need.
Before I move on to the actual start of the tutorial I want to mention that while I’m trying to follow the sprit and topics of the tutorial I’m basing this on, there will be some bigger differences. Where necessary I will deviate from the original to make this tutorial more compatible with how Godot works. I hope I can get a good compromise.
Part 1: Drawing the Player Character and Moving it Around
Based on: http://rogueliketutorials.com/tutorials/tcod/v2/part-1/
The original tutorial starts off with creating a console window. Godot handles windows for us, but we still want somewhere to put all our stuff. For that reason we start off by creating a new scene with a Node2D as root node and call that node Game. Save that scene under res://src/Game/game.tscn. Also create a script on that node, and save it next to the scene under res://src/Game/game.gd.
Now, we want to put something on the screen to represent the player. Create a Sprite2D as a child of the Game node and call it Player. On the sprite go into Offset and uncheck Centered. Add a new AtlasTexture into the Texture slot. Drop our monochrome_packed.png into the Atlas property of the atlas texture. Next click Edit Region. Here it helps to set the Snap Mode to Grid Snap and then set the Step to 16x16. Then select one of the little figure icons as your player sprite. Congratulations, you have a player on the screen! Now to moving it.
In game.gd add the following code at the top:
extends Node2D

var player_grid_pos := Vector2i.ZERO

@onready
var player: Sprite2D = $Player
The player is a reference to our sprite, while player_grid_pos will (for now) hold the player’s position. However, if we were to follow the original tutorial too closely here, then we would run into an issue. When we move the player “1” to the right let’s say, then in a console grid this means 1 whole cell. But if we add 1 to the x component of the position in Godot, we only move it by a pixel. So we need a way to convert between coordinates in pixels, I will call them world coordinats to coordinates on our grid, which I will call grid coordinates. For that, we will create a static grid class. So create a new script file under res://src/Utils/grid.gd. Here is what we will fill it with:
class_name Grid
extends Object

const tile_size = Vector2i(16, 16)


static  func grid_to_world(grid_pos: Vector2i) -> Vector2i:
	var world_pos: Vector2i = grid_pos * tile_size
	return world_pos


static func world_to_grid(world_pos: Vector2i) -> Vector2i:
	var grid_pos: Vector2i = world_pos / tile_size
	return grid_pos
We give it a class_name so we can easily call it from our code. We define 16x16 as a constant tile size, as that’s the size of the individual icons in the asset pack. If you decide to follow this tutorial with a different set of icons that have a different scale, then this constant is all you should have to change to make that work.
Next we have two static functions. Static means we can call these functions directly on the class, without the need to instance it. It will just be a publicly accessible function in our code. These functions take in either a position in the world or on the grid and convert it to the other one by either multiplying with or dividing by the tile size. That’s it, but we will use these a lot further down the line.
After dealing with the grid we will start with the foundation for a very interesting design pattern, the command pattern (read more at https://gameprogrammingpatterns.com/command.html ). Here I will use the term “action”, as that’s what it’s called in the original tutorial. So, create a new script under res://src/Entities/Actors/Actions/action.gd. For now all we need is the following:
class_name Action
extends RefCounted
Create a script called escape_action.gd in the same folder, with the following content:
class_name EscapeAction
extends Action
And another called movement_action.gd, in the same folder as well. This script has a bit more to it:
class_name MovementAction
extends Action

var offset: Vector2i

func _init(dx: int, dy: int) -> void:
	offset = Vector2i(dx, dy)
The movement action stores an offset, i.e. where and how far a character will be moving, relative to their current position, and this offset is initialized right when creating this action.
With the basics of our action system in place, we will create a new node that will handle input for us. In the game scene create a new Node child of Game and call it EventHandler. Create a script on it and save it to res://src/Game/event_handler.gd. The event handler will be responsible for creating actions appropriate for the current input:
class_name EventHandler
extends Node


func get_action() -> Action:
	var action: Action = null

	if Input.is_action_just_pressed("ui_up"):
		action = MovementAction.new(0, -1)
	elif Input.is_action_just_pressed("ui_down"):
		action = MovementAction.new(0, 1)
	elif Input.is_action_just_pressed("ui_left"):
		action = MovementAction.new(-1, 0)
	elif Input.is_action_just_pressed("ui_right"):
		action = MovementAction.new(1, 0)

	if Input.is_action_just_pressed("ui_cancel"):
		action = EscapeAction.new()

	return action
It has only one function, get_action(). This function first creates an empty action. If any of the directional inputs are pressed, we create a MovementAction with the appropriate direction and store it in action. Currently I am using ui_up, ui_down, and so on, which are builtin actions, mapping to the arrow keys. In a later tutorial we will create proper actions for this. Then, if ui_cancel (which maps to the ESC key, among other things) was pressed, we create an EscapeAction. Lastly, we return the action. In case we had none of these inputs, that action will be null, but we still return it.
Now, back to game.gd, where we will now integrate the event handler. Expand the script as follows:
...
@onready
var player: Sprite2D = $Player
@onready var event_handler: EventHandler = $EventHandler


func _process(delta: float) -> void:
	var action: Action = event_handler.get_action()

	if action is MovementAction:
		player_grid_pos += action.offset
		player.position = Grid.grid_to_world(player_grid_pos)
	elif action is EscapeAction:
		get_tree().quit()
First, we get a reference to the event handler. Then, in the _process() function, which will be executed every frame, we first request an action from it. Next we use polymorphism to decide what to do with it. We check it it’s a MovementAction. In that case we take ìts offset and add it to player_grid_pos. Then we use our nice Grid class to calculate calculate a world position from that, and apply it to our player sprite. However, if we instead have an EscapeAction, we quit the game. In case we didn’t have an input action will be null, and it will match neither the if nor the elif, and the code will just progress through the _progress() function without doing anything, moving on to the next frame, until we press a relevant key.
The code for this is done now. We just need two more changes in the project settings. Go to Project > Project Settings. There, set Application > Run > Main Scene to res://src/Game/game.tscn. This will make it so when we start the game, it will start with the Game scene. Next go to Rendering > Environment and change the Default Clear Color to a solid black. The background of our sprite sheet is black, so by setting the overall background to black we took care of everywhere we don’t render anything. You can now run the game to see what I mean. You should see the player sprite, and should be able to move it with the arrow keys. If we had left the background at gray the black square of the player sprite would be apparent. We will draw different sprites on top of each other later, and in order for the top sprite to completely block out the sprites underneath we also don’t want them transparent. Then, if you’re done with trying out the first stage of the game you should be able to close the game by pressing ESC.
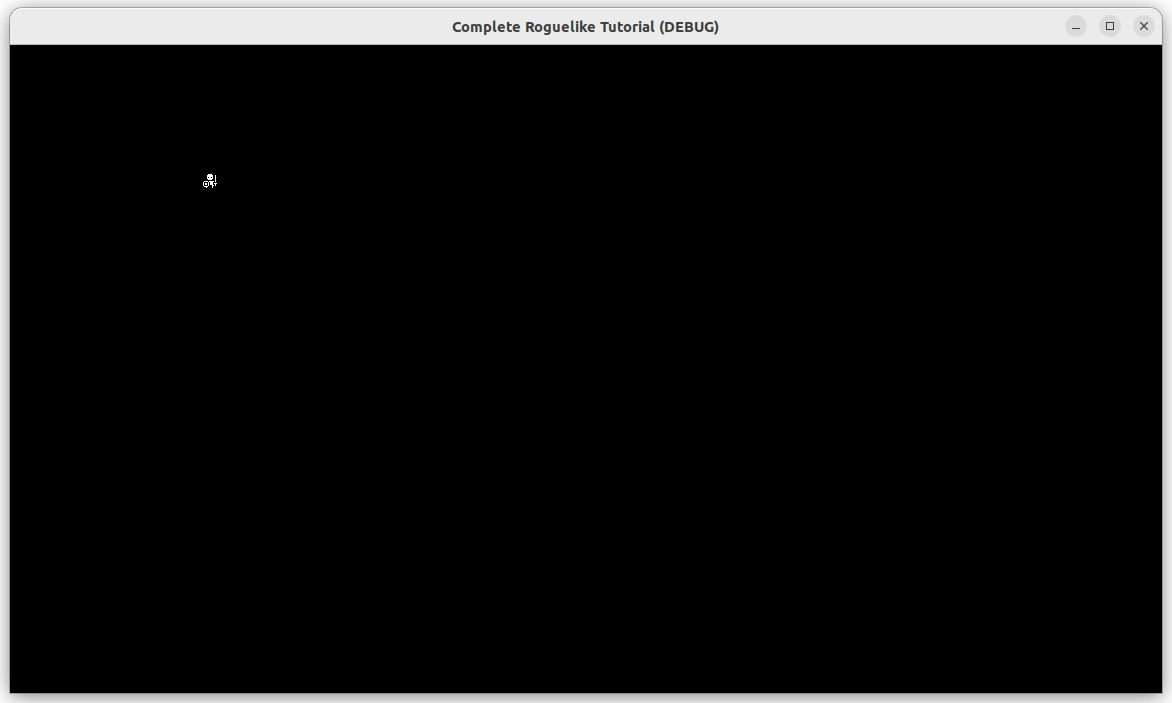
Result of Part 1
I was too lazy to record a gif, so you have to imagine the little figure moving around here.
You can find part 2 here: https://selinadev.github.io/06-rogueliketutorial-02/